Cyberduck + GDX Cloud Integration Guide
Quick setup for connecting Cyberduck to your GDX Cloud S3 storage. This guide walks you through the steps to access your cloud files directly from your desktop.
Prerequisites
- Active GDX Cloud account with S3 access enabled
- Access Key ID and Secret Access Key (from GDX Cloud console)
- Cyberduck application installed
Protect Your Credentials
Keep your GDX Cloud Access Key ID and Secret Access Key secure. Never share them or commit them to version control. These credentials provide full access to your bucket.Step 1: Open Cyberduck Connection Dialog
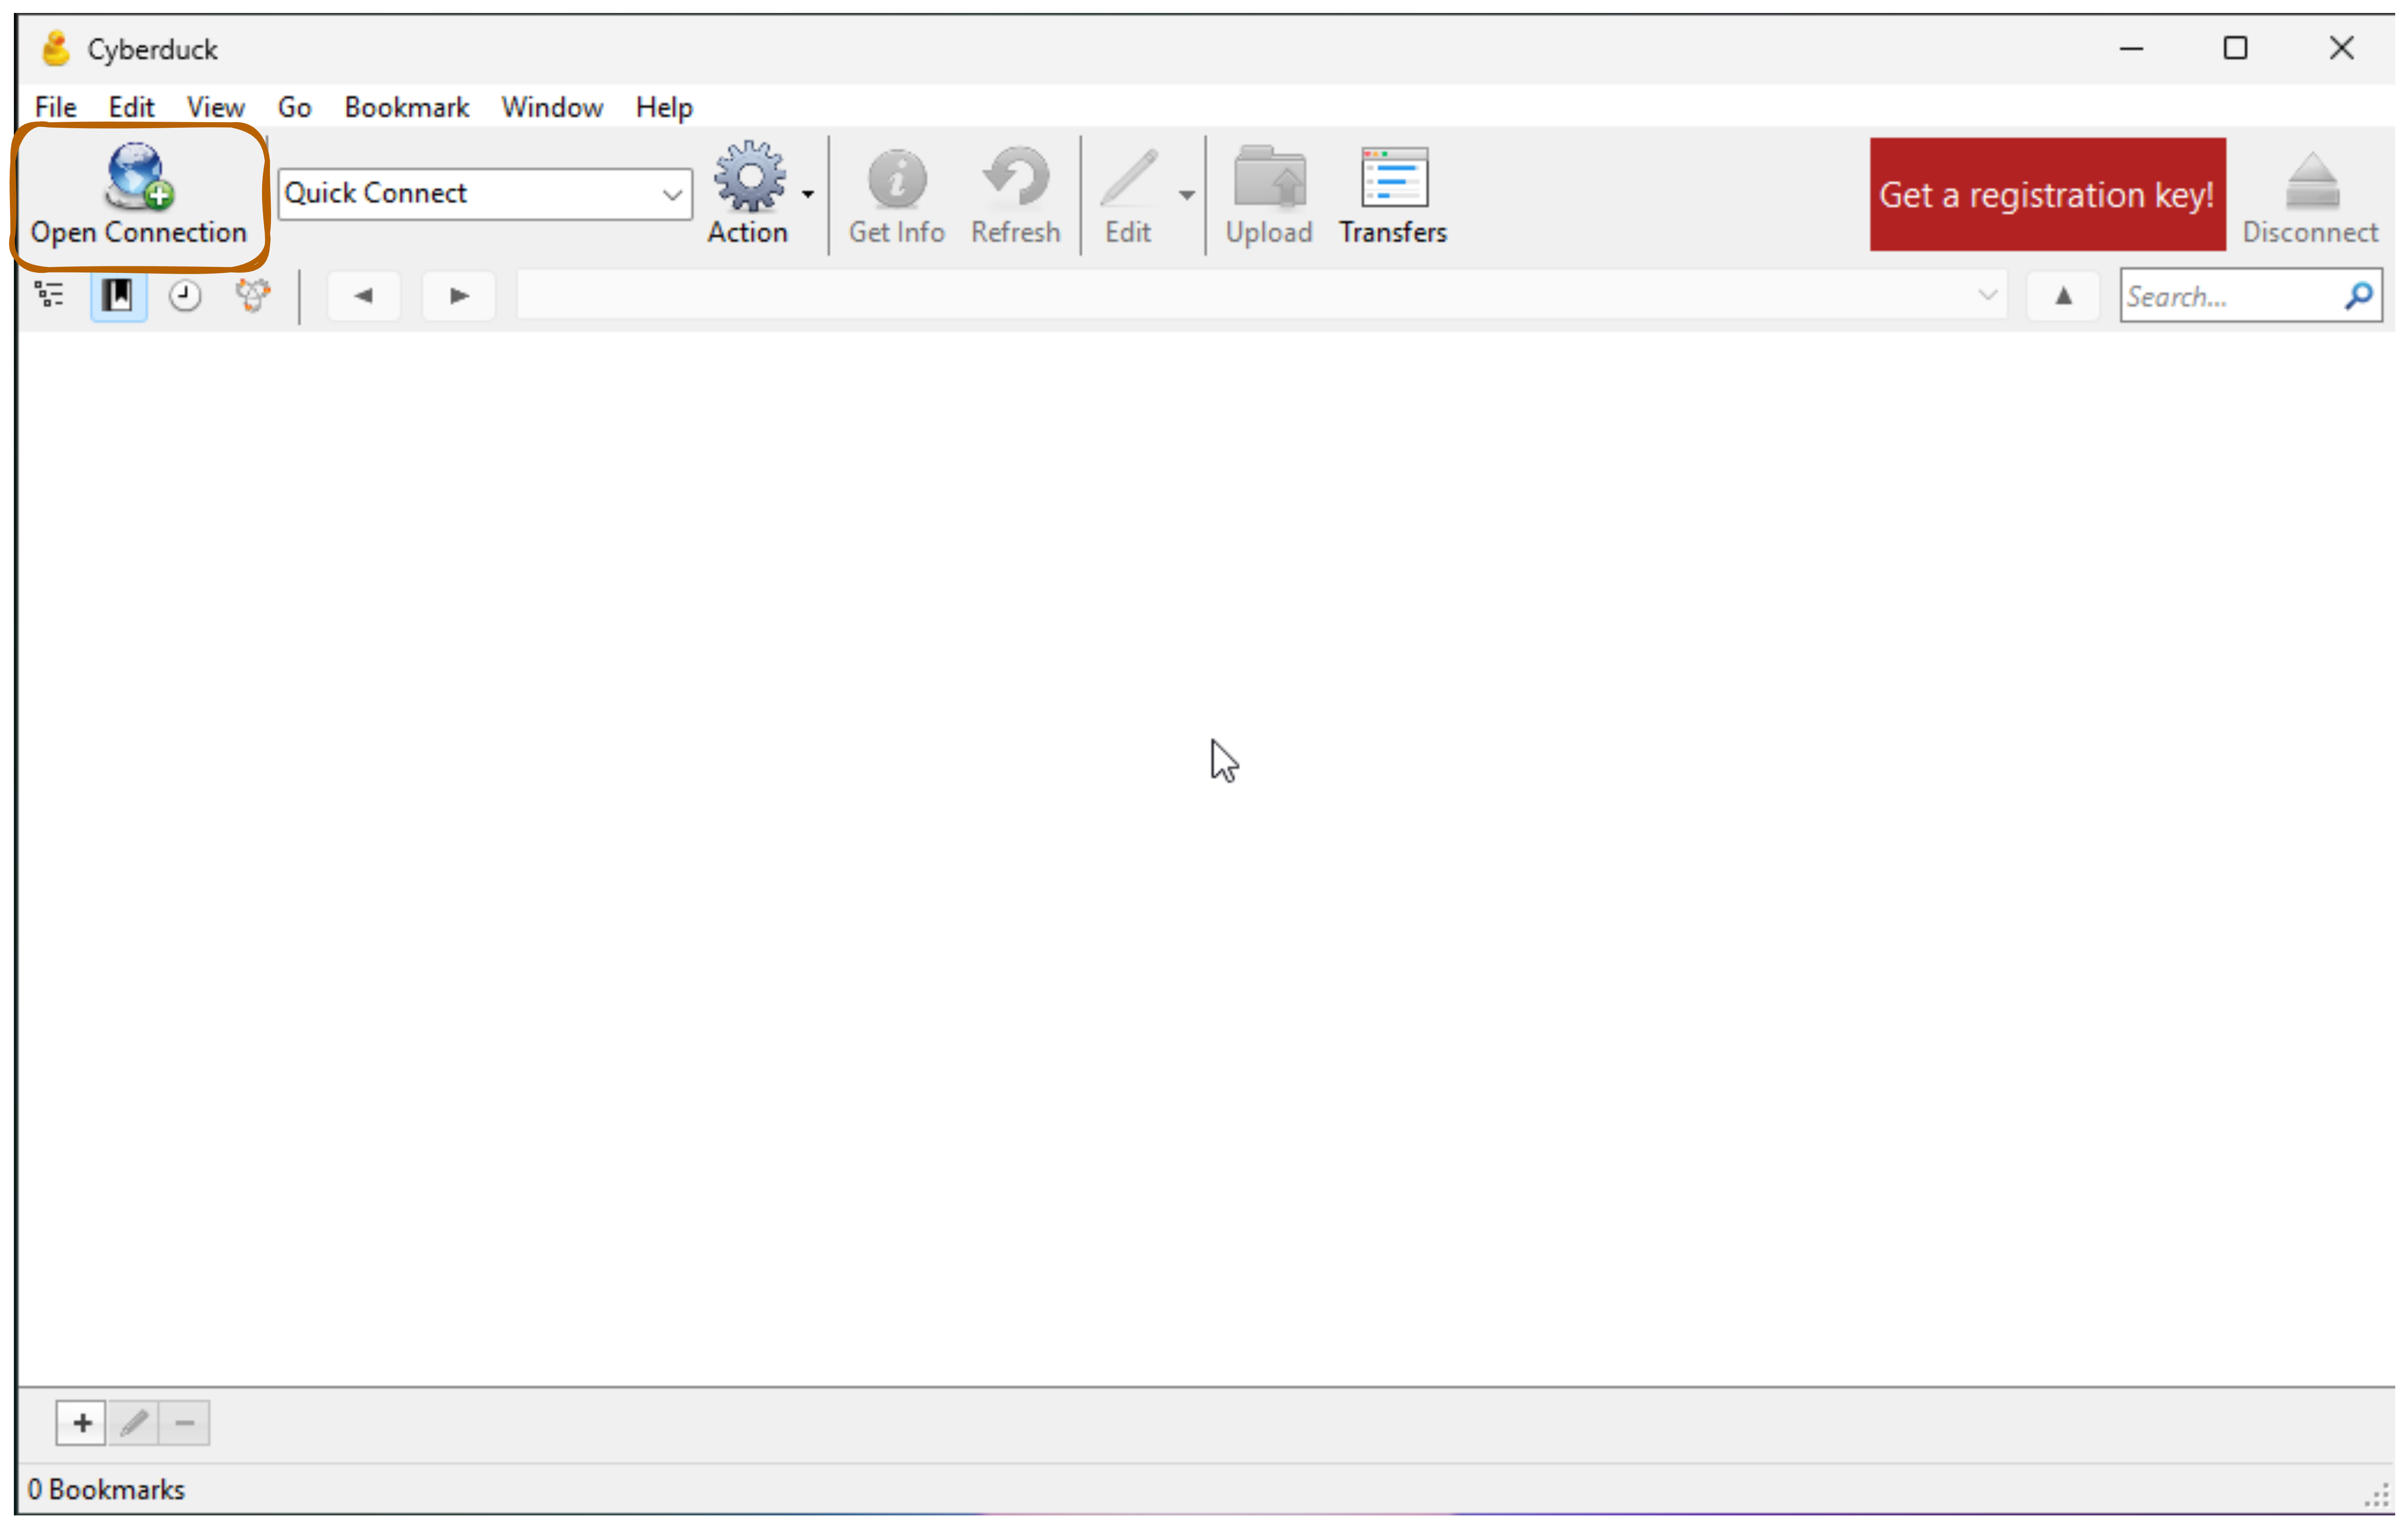
- Launch Cyberduck application
- Click Open Connection button (on the left)
The main Cyberduck window displays a file browser area and toolbar with connection options.
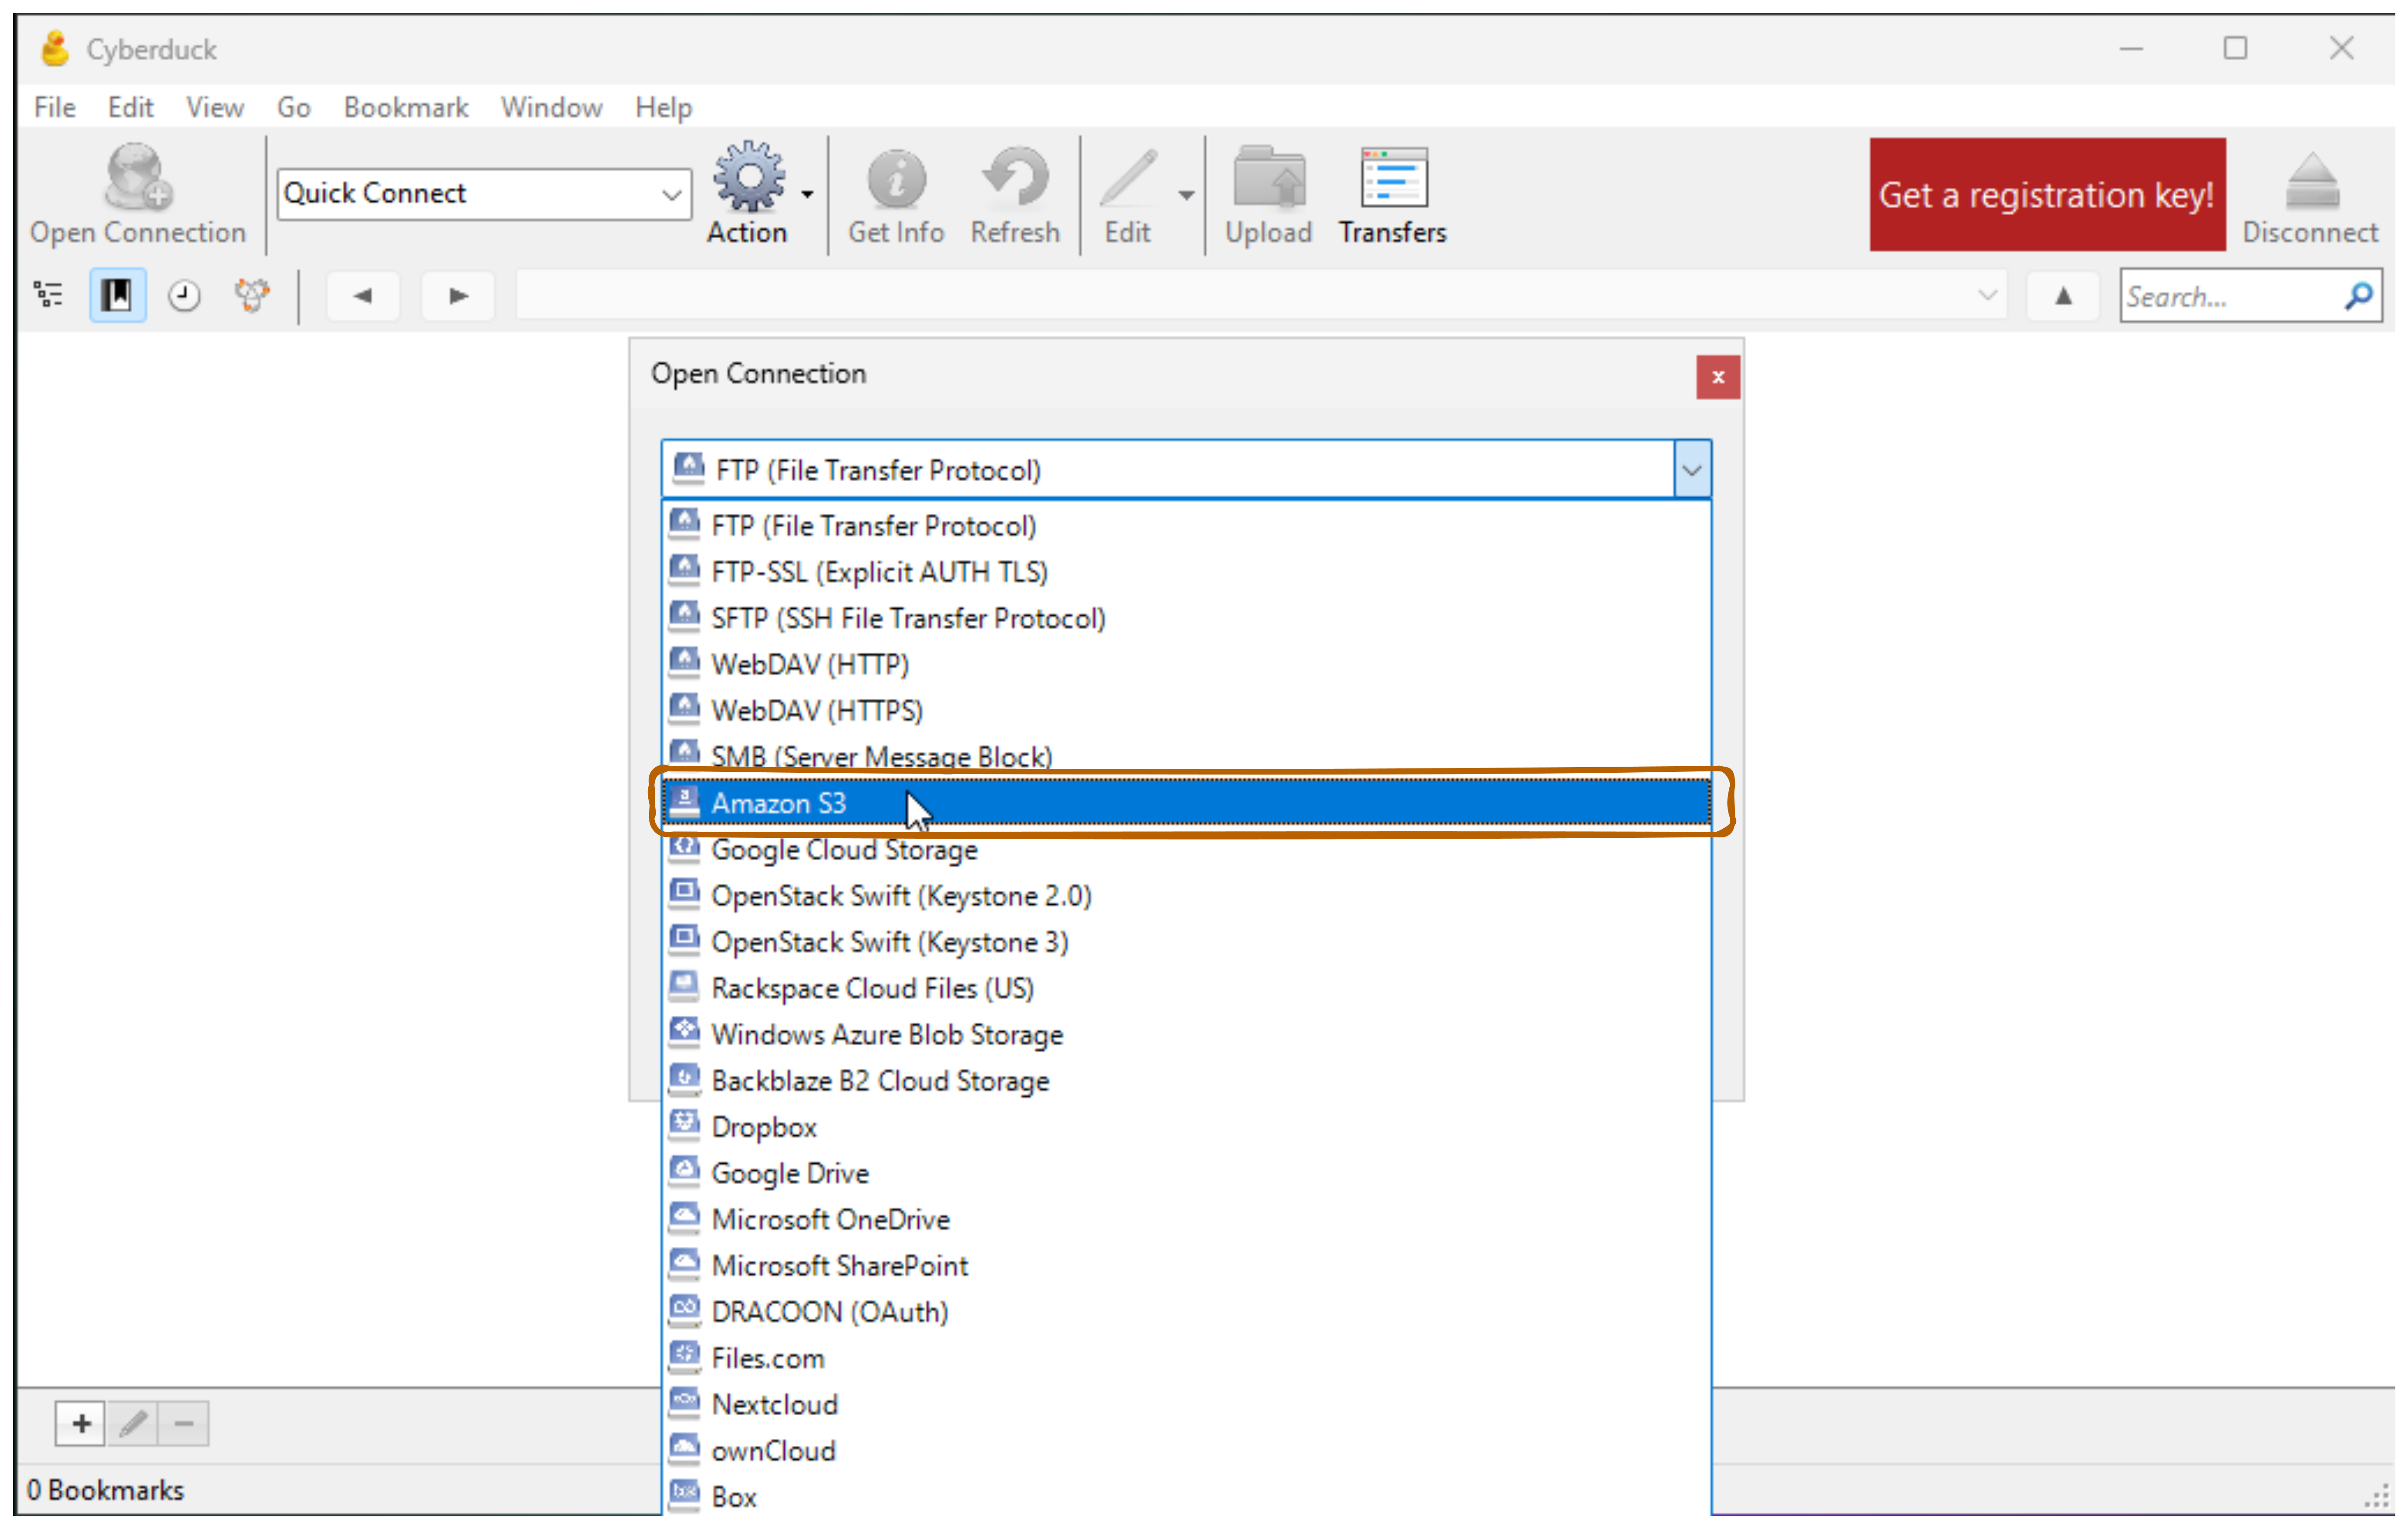
Step 2: Select Amazon S3 Connection Type
- In the “Open Connection” dialog, click the protocol dropdown
- Find and select Amazon S3 (highlighted in blue)
- This allows connections to GDX Cloud S3-compatible storage
Step 3: Enter GDX Cloud Connection Details
Fill out the Amazon S3 connection form with your GDX Cloud credentials:
- Server:
s3.gdx.datnass.com(GDX Cloud S3 endpoint)- Port: 443 (default HTTPS)
- URL:
https://s3.gdx.datnass.com
- Access Key ID: Your GDX Cloud Access Key ID
- Secret Access Key: Your GDX Cloud Secret Access Key (displayed as dots for security)
- Additional options:
- Anonymous Login: Leave unchecked
- SSH Private Key: None (not needed for S3)
- Save Password: Check this to remember credentials
- More Options: Expand for advanced settings if needed
- Click Connect to establish the connection

S3 Configuration Details
Ensure you use the exact endpoint URL and valid credentials from your GDX Cloud console. Verify that Save Password is enabled for convenient access.Step 4: Verify GDX Cloud Connection Success
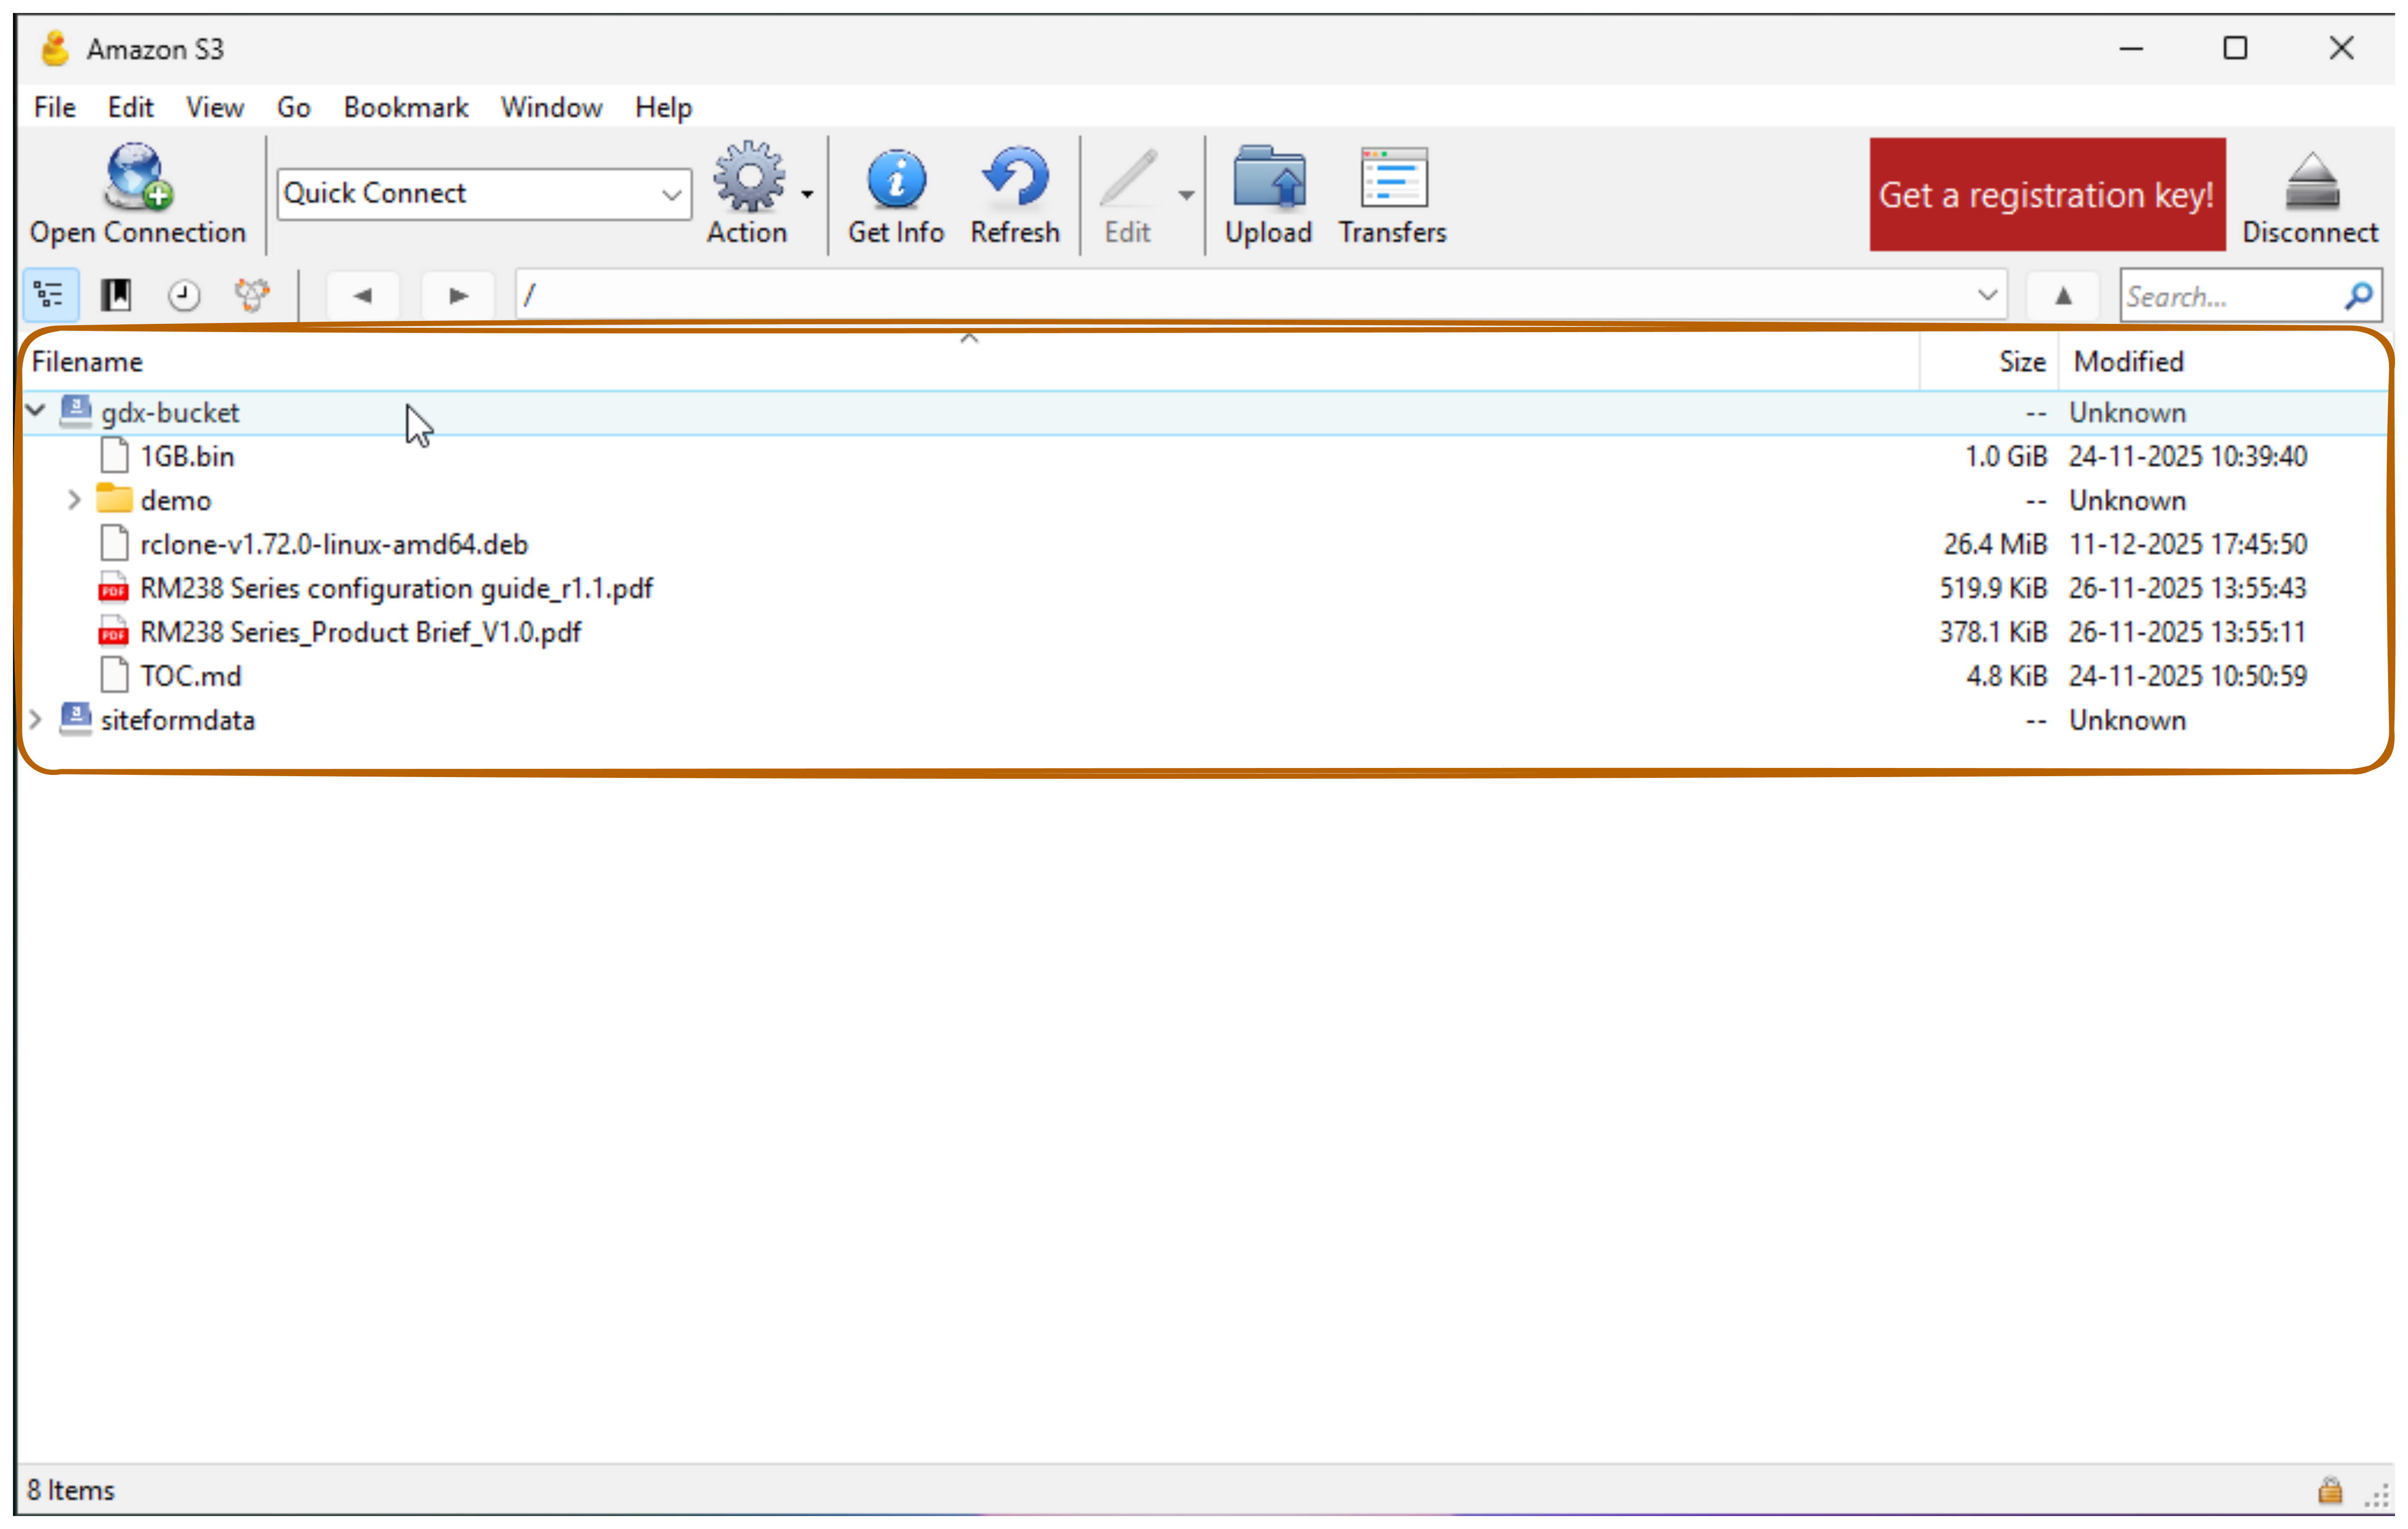
- After clicking Connect, Cyberduck establishes a connection to your GDX Cloud S3 storage
- The window title changes to “Amazon S3” confirming the successful connection
- Your GDX Cloud bucket contents now appear in the file list
Your GDX Cloud S3 storage is now accessible in Cyberduck.
Connection Established
Once connected, you can browse and manage your GDX Cloud files directly. Remember to click Refresh to see the latest changes.Troubleshooting
Connection Issues
Most connection problems are caused by incorrect credentials or firewall restrictions. Always verify your endpoint URL and access keys match your GDX Cloud console before troubleshooting further.Can’t connect to server?
- Verify the GDX Cloud S3 endpoint:
s3.gdx.datnass.comis correct - Check internet connection
- Ensure firewall allows HTTPS (port 443)
- Verify port is set to 443
Access Denied / Authentication Failed?
- Verify the Access Key ID is correct
- Verify the Secret Access Key is correct (copy carefully—these keys are long and case-sensitive)
- Ensure credentials are valid in your GDX Cloud console
- Check “Save Password” is enabled (optional but recommended)
Files not showing?
- Click the Refresh button to reload the file list
- Verify the bucket exists in your GDX Cloud console
- Check file permissions for your account
Upload/Download slow?
- Check your network connection speed
- Large file transfers require time—please be patient
- Test with smaller files first to verify connectivity
- Check your available bandwidth
Tips & Best Practices
- Save password: Check “Save Password” so you don’t enter credentials each time
- Refresh often: Click Refresh to see latest changes from other users
- Check file sizes: Before downloading large files, check size in the list
- Use keyboard shortcuts:
- Cmd+Up (Mac) / Ctrl+Up (Windows) = Go to parent folder
- Cmd+N (Mac) / Ctrl+N (Windows) = New folder
- Bookmarks: You can bookmark frequent connections for quick access
Support & Resources
- Cyberduck Documentation: https://cyberduck.io/help/
- GDX Cloud Console: https://console.gdx.datnass.com
Your GDX Cloud S3 storage is now accessible in Cyberduck for seamless file management.